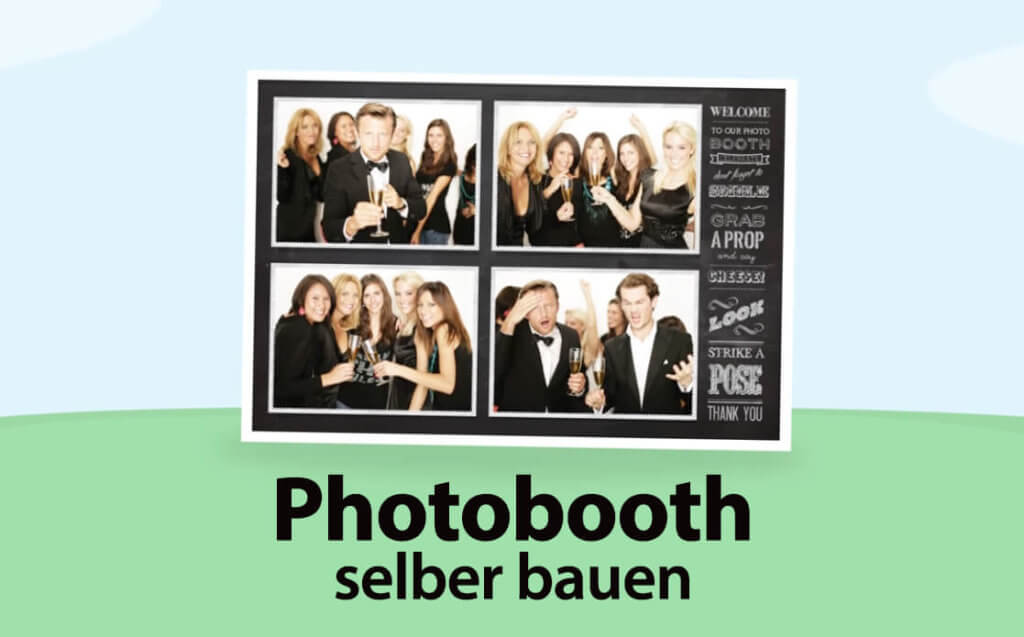
The photobooth booths that you know from weddings, birthdays and other events can be built relatively easily yourself if you are willing to invest 150 to 200 euros and have an iPad. How this works is explained in a video that I will include for you here:
Chapter in this post:
DIY photobooth with the Canon Selphy CP1300
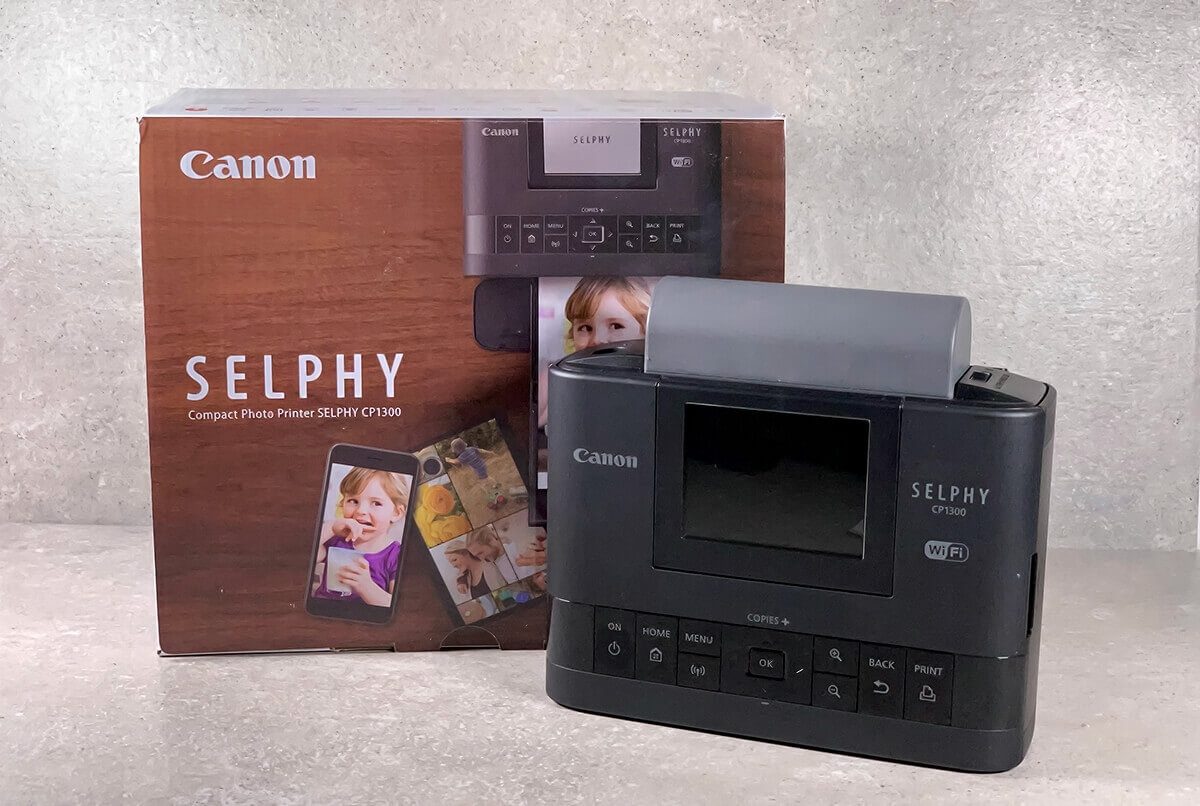
Since the small Canon Selphy CP1300 has been delighting me with great photos for several weeks, I researched and recreated this small application example for my purposes. Anyway, I have various iPads, mounts and photo tripods and now I also own the printer. So I just had to get the right app (is presented below!).
The Canon Selphy (here is a test report for the printer) is the “heart” of the DIY photobooth, because it prints the photos in an impressive quality. The whole thing takes about two minutes with snaps and is a great gag for every wedding.
The difference between a professional photobooth and a DIY photobooth
However, it has to be said that the solution cannot be compared to a “professional” photo booth that guests can use all day without supervision. You usually have to rent these, but this often costs 250 euros and more per day.
With the photo booth presented here for self-construction, one person should help the guests, because the Canon Selphy has a paper cassette that only holds around 20 sheets of photo paper. After about 50 printouts you have to change the color cartridge. Of course, this should be done for the guests. The advantage of the do-it-yourself solution is that you have a great photo printer afterwards and that the costs are even cheaper.
What do you need for the do-it-yourself photo booth?
I have put together a list of the accessories that you need for the DIY photo booth. With the iPad holder and the photo accessories you can of course take what you like. My parts are just suggestions ...
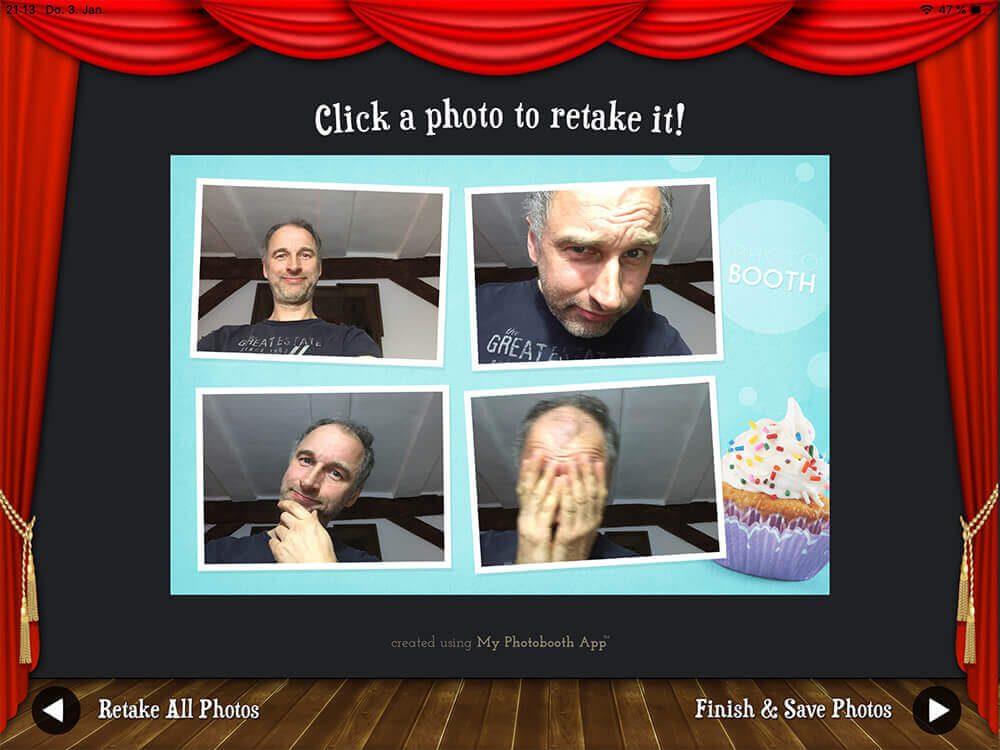
The “My Photobooth” app that I bought (just under 11 EUR) is also recommended in the video. It offers the possibility to use the iPad in portrait and landscape format and to print the photos in both formats accordingly.
[appbox app store id872739090]
The great thing about the app are the included frames, which you can even replace with your own frames made in Photoshop. You can take one of the templates, customize it in Photoshop, and then save it to a photo album called “Photo Booth Borders” in the Photos app. There the app looks for graphics and uses them.
grocery list
- Canon Selphy CP1300
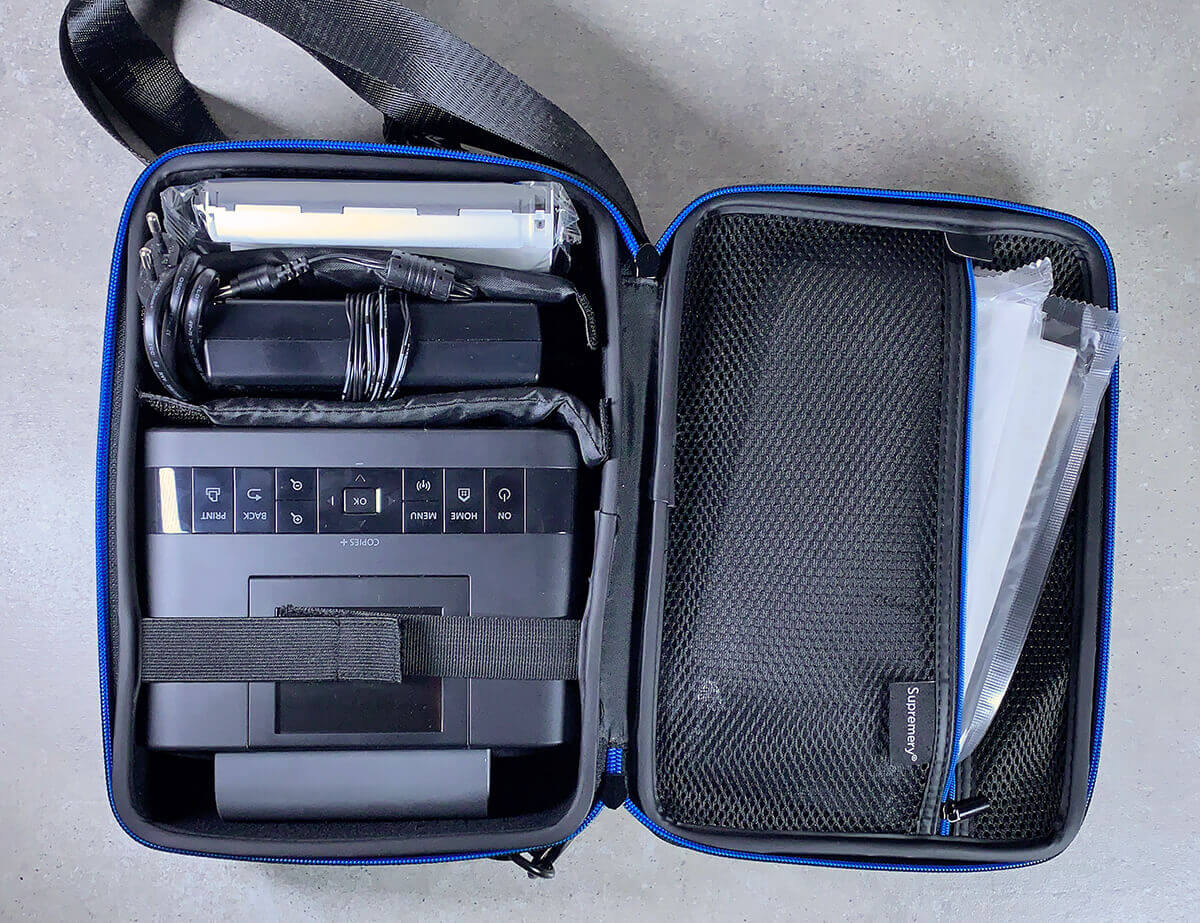
- Transport bag from Supremery (recommended for the Selphy)
- Photo paper and color cartridges in a set for 108 photos (better buy two or three packs at once)
- iPad (Presumably already exists; the model is relatively irrelevant)
- iPad table stand, iPad stand with tripod or iPad tripod holder (please set up the tripod securely!)
- My Photo Booth App for the iPad (here in the video)
- Photobooth photo props
My conclusion on the DIY photobooth
I think with this equipment you can build a relatively cheap photo booth yourself. Since you can get by with inexpensive accessories, which in some cases may already be available in the household, you can also use them to do perfect photo sessions on children's birthday parties. The children can dress up and then take photos of themselves. My kids love such photos with their friends anyway!
But of course the setup is also suitable for weddings and other celebrations. By the way, WLAN access is not necessary, because the Canon Selphy opens up its own WLAN network if required, which can then be used to control it with the iPad.
Despite the price, the choice of the app fell on “My Photobooth” as this app is a nice all-in-one solution optimized for the Canon Selphy. Plus there is some frames, which you can download for free from the website. They are beautifully designed and the photos make a lot more. The frames are then of course created “on-the-fly” using the photos in the app, so that you don’t have to do any more image editing here.
I hope you enjoy the DIY photo booth. The photos only cost around 25 cents when printed, which is definitely worth the fun.
Related Articles
 In the test: Birdfy bird feeder with full HD camera and AI bird identification
- Maidesite campaign: Height-adjustable desks and frames cheaper (sponsor)
- In the test: Akko 5075S – wired RGB gaming keyboard with interchangeable keys
- In the test: Secretlab TITAN Evo – the best gamer chair?
- In the test: Proscenic WashVac F10 floor cleaner and wet and dry vacuum cleaner
- Tesa package tape dispenser PACK'N'GO – easy threading guaranteed
- On test: Longer Laser B1 20W laser engraver and cutter
- Anker Everfrost – cordless cool box manages down to -20° Celsius


Jens has been running the blog since 2012. He acts as Sir Apfelot for his readers and helps them with technical problems. In his spare time he rides electric unicycles, takes photos (preferably with the iPhone, of course), climbs around in the Hessian mountains or hikes with the family. His articles deal with Apple products, news from the world of drones or solutions to current bugs.
Cool tip! Is saved :-)
With pleasure! : D
hi, did that work for you with the alignment when printing? As soon as I operate the tablet in landscape mode, the printer is controlled in portrait mode.
Unfortunately, my iPad doesn't remember the printer as the default either :(
Hello Mario! I tried the app on iOS 12. Since it is now ipadOS 13, I am not sure if the problem could be related to that. Maybe the developers need to adapt the app to the new system. At the time, however, the printout worked perfectly for me.
I have the same problem with iOS 13. Unfortunately, the printer does not rotate the "landscape" image. Is there an alternative that someone can recommend for a similar price?
Hello CXhristoph! Do you mean an alternative to the Photobooth app or the Selphy printer?
I've tried a few apps now and unfortunately can't find anything that is anywhere near as cheap.
My solution is now the portrait photo mode and after using it on New Year's Eve I had to realize that it doesn't really matter to me whether the pictures are portraits. The main thing is that the pressure works
To the app :-) Thank you